


Setting Up Your Mapping Rules #
Understanding Account Mapping #
When connecting your Shopify store to QuickBooks, it’s essential to tell SyncTools how to categorize your transactions. The Mapping section is where you’ll create these connections, ensuring your sales, refunds, and other transactions appear in the right accounts in QuickBooks.
Creating Basic Transaction Mappings #
To get started:
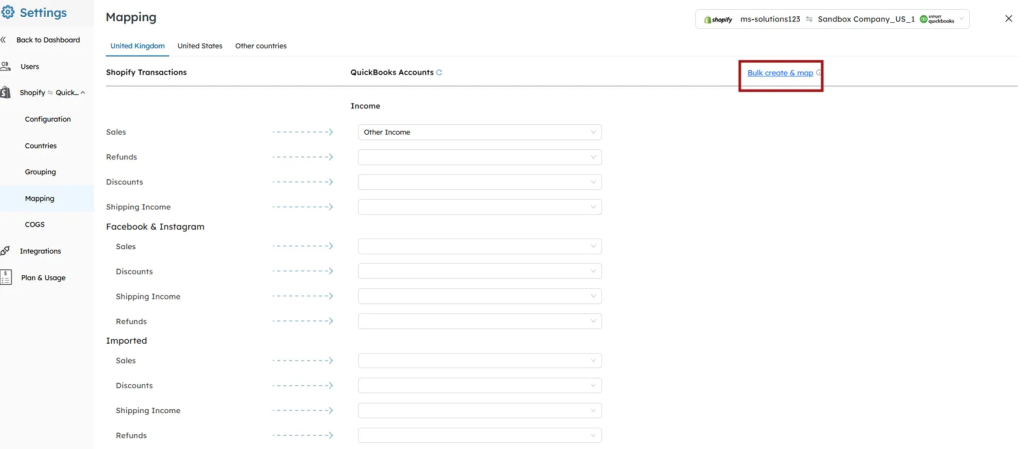
- Navigate to Settings → Mapping
- You’ll see Shopify transaction types on the left and QuickBooks accounts on the right
- For each transaction type, select the appropriate QuickBooks account from the dropdown menu
For example:
- Map your Shopify sales to a “SyncTools Shopify Sales” account in QuickBooks
- Map refunds to a “SyncTools Shopify Refunds” account
- Continue mapping shipping, discounts, and other transaction types as needed for your business
Quick Setup with Bulk Create & Map #
If you’re just getting started, SyncTools can set up your accounts automatically:
- Click the “Bulk create & map” button (highlighted in the interface)
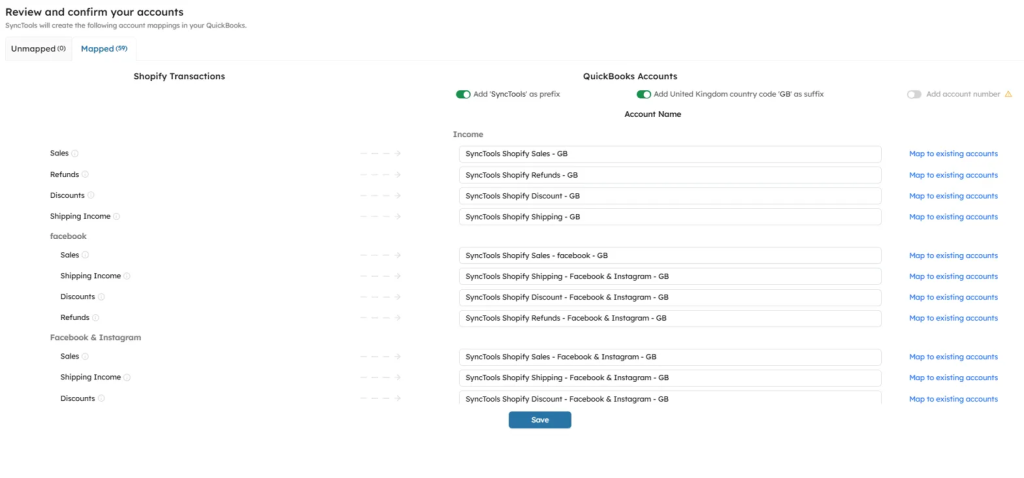
- SyncTools will suggest appropriate accounts and create them in QuickBooks
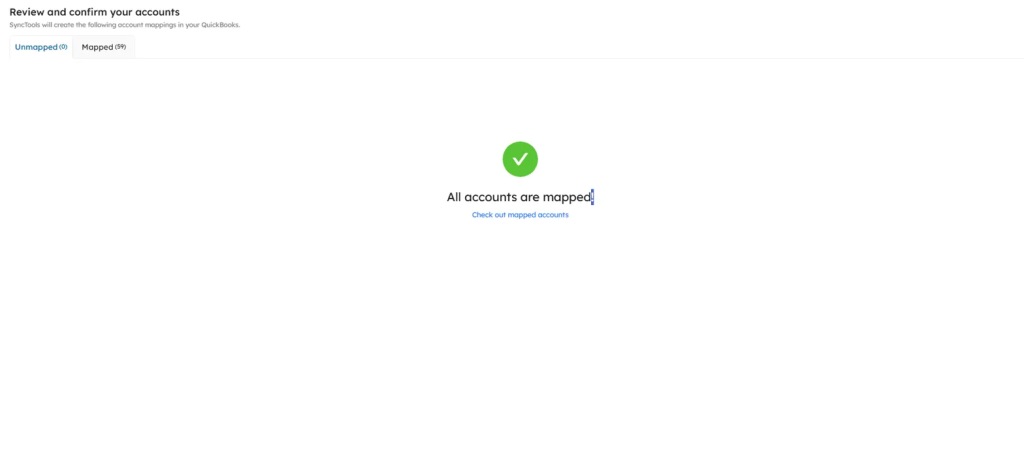
- Review the suggested mappings to ensure they meet your needs
Want to use your existing accounts instead? Simply click “Map to existing accounts” to select accounts you’ve already created in QuickBooks.

💡 Tip: Use the “Auto map” button to quickly match transaction types to similar existing accounts, saving you time and reducing duplicate accounts.
Once you’ve reviewed your mappings and are satisfied with the connections, click Save. Your mappings will be listed under “Mapped Accounts,” and future journal entries will follow these rules.
Now the journal entries will be based on the mapping done.
⚠️ Important Note: We recommend consulting with your accounting professional about your mapping structure to ensure it aligns with your financial reporting needs.
For additional assistance, our support team is available at support@synctools.ai


